
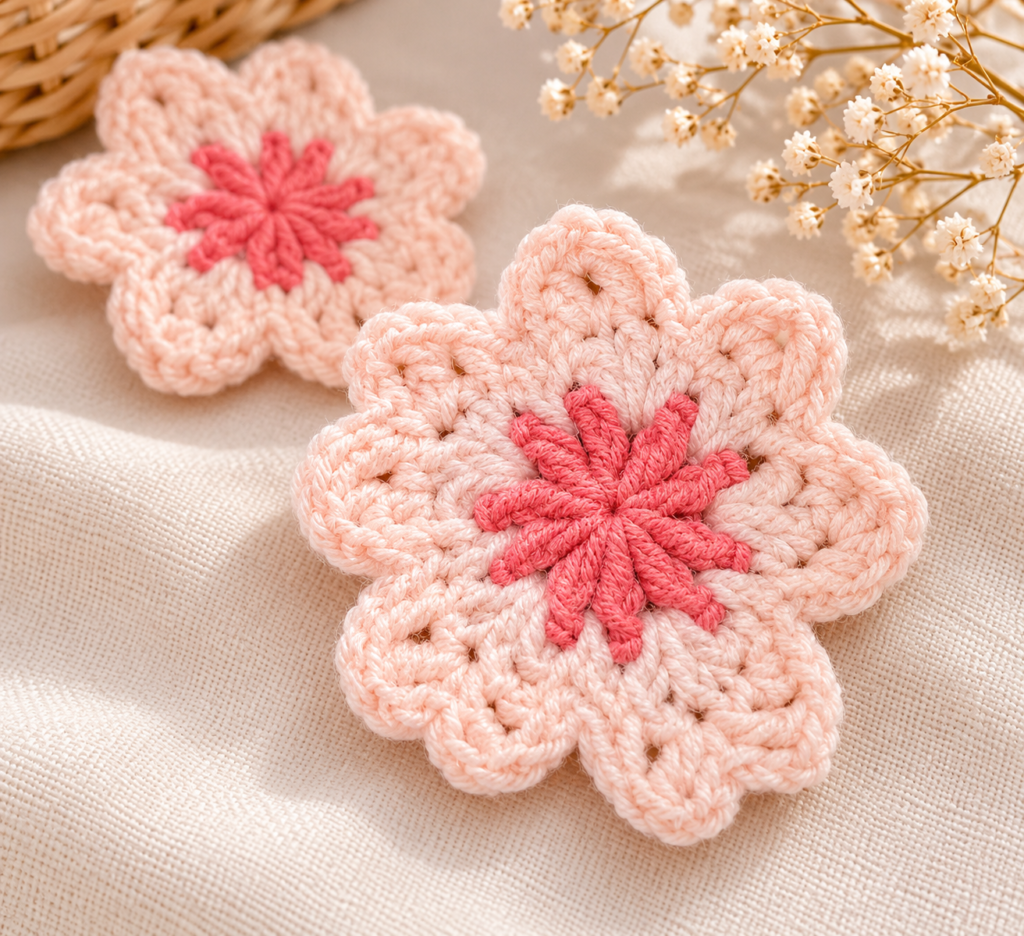
There is something special about crocheted flowers. A few stitches, a little yarn, and suddenly you have a tiny bloom that can brighten almost anything!
This time, I’m sharing how to make a crochet cherry blossom flower featuring five soft, rounded petals and a contrasting center. I used an old rose shade for the flower’s center and a light pink yarn for the petals to give it that delicate cherry blossom appearance.
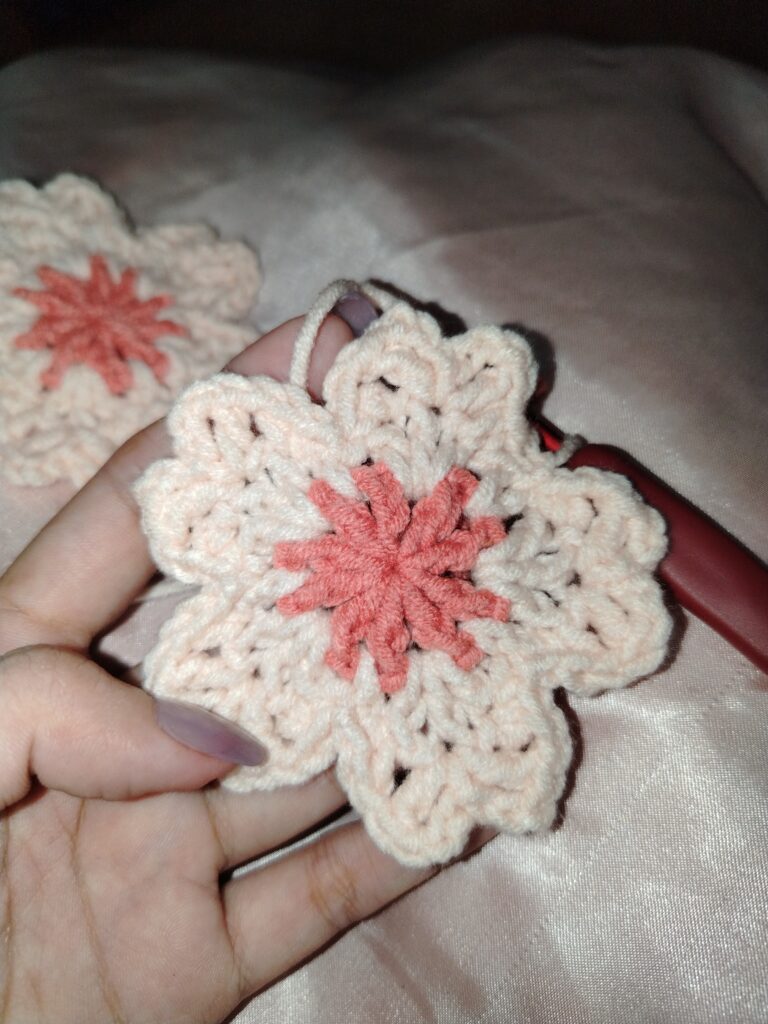
This little flower is a lovely addition to handmade accessories, bag charms, bookmarks, appliqués, and other crochet creations. It’s also a fun way to use leftover yarn from previous projects!
So, grab your crochet hook and let’s make a little blossom!
Crochet Cherry Blossom Flower Pattern
Skill Level: Beginner to Intermediate
Pattern Type: Crochet Flower Appliqué
Construction: Worked in three rounds, starting from a magic circle.
Yarn Colors
- Old rose – for the flower center
- Light pink – for the petals
Crochet Abbreviations
- MC – Magic Circle
- ch – Chain
- sl st – Slip Stitch
- sc – Single Crochet
- hdc – Half Double Crochet
- dc – Double Crochet
- sp – Space
- ch sp – chain space
- st(s) – Stitch(es)
This pattern uses US crochet terminology.
How to Crochet a Cherry Blossom Flower
Step 1: Make the Flower Center
Using your old rose yarn, make a magic circle.
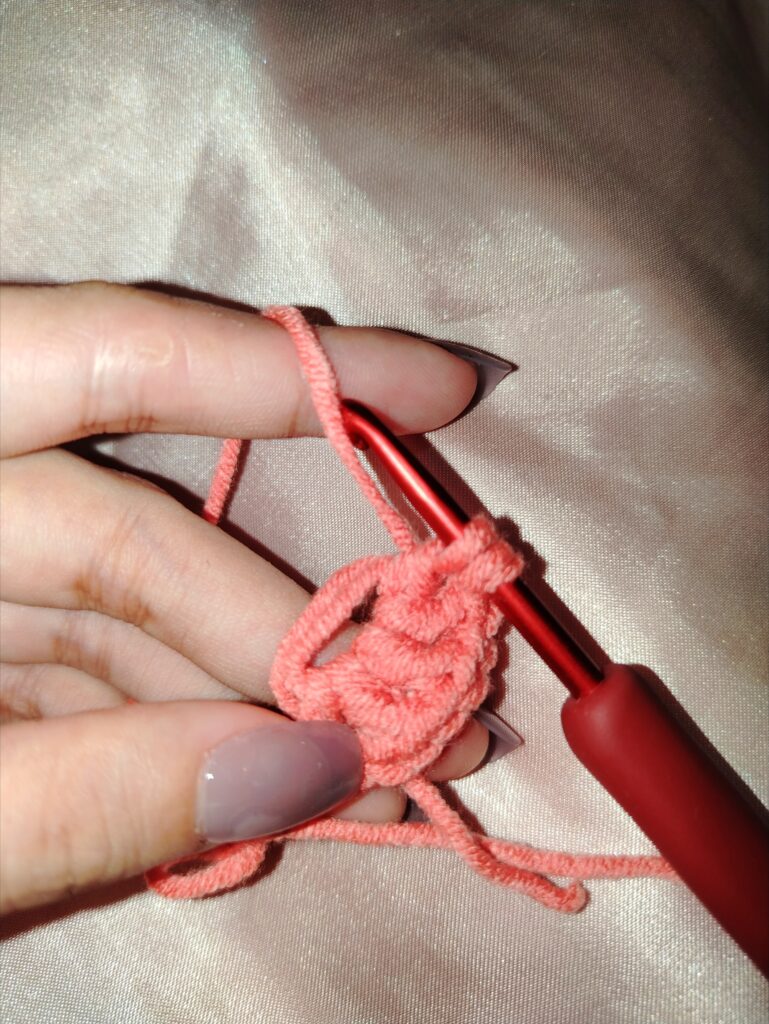
1. Chain 4. This counts as 1 double crochet and 1 chain space (ch-3 as the dc, followed by ch 1).
2. Make 9 dc into the magic ring, chaining 1 after each dc.
3. Pull the magic ring closed.
4. Fasten off the working yarn and weave in the ends.
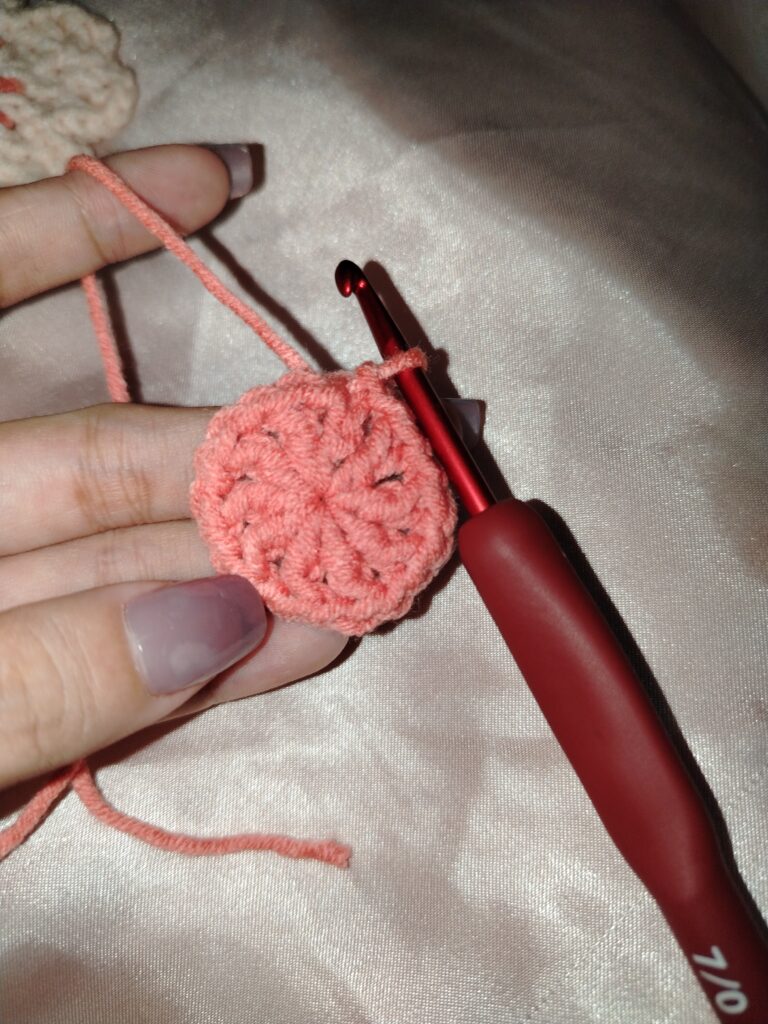
You should now have 10 double crochet posts, including the beginning chain, with 10 chain spaces around the center.
Step 2: Create the Petal Foundation
Switch to your light pink yarn.
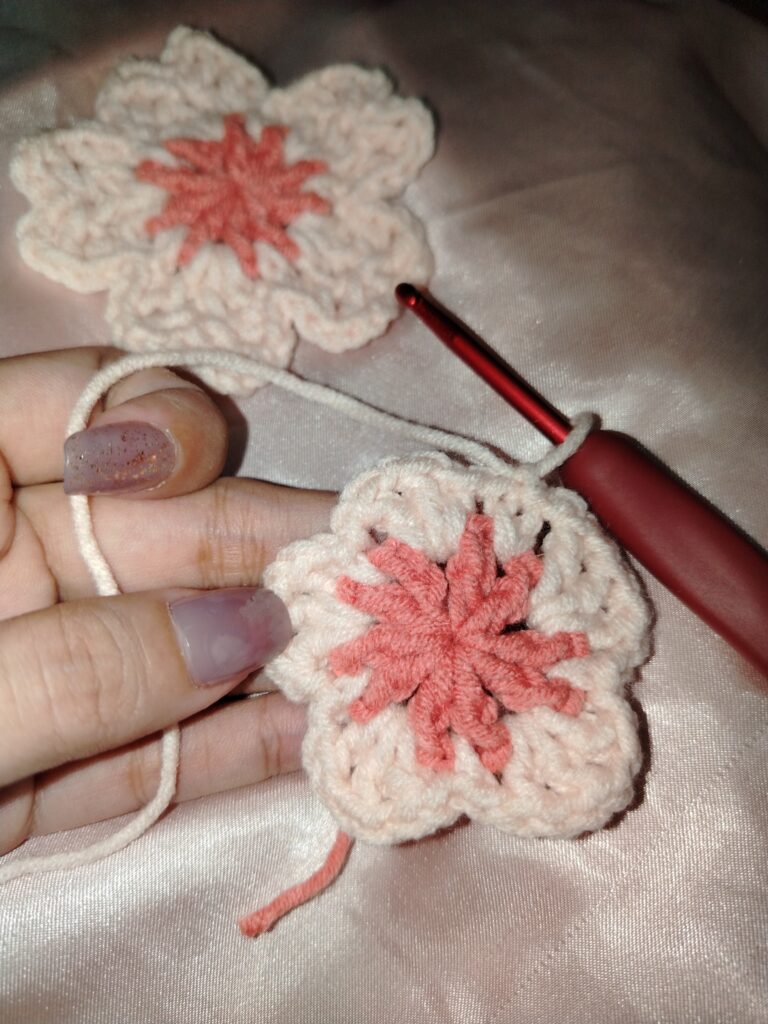
1. Attach your yarn to any chain space.
2. Chain 1 and make 1 sc in the same chain space.
3. Chain 1.
4. In the next chain space, make 3 dc, with 1 chain between each dc.
5. Chain 1, then make 1 sc in the next chain space.
Repeat the sequence marked with an asterisk:
Ch 1, make 3 dc with ch 1 between each dc in the next chain space, ch 1, then make 1 sc in the following chain space.
Continue until you have worked around the entire flower.
Slip stitch into the first sc to join the round.
You should now have five groups of three double crochets, which will serve as the foundation for your five petals.
Step 3: Shape the Five Petals
This round is where the flower starts to take shape!
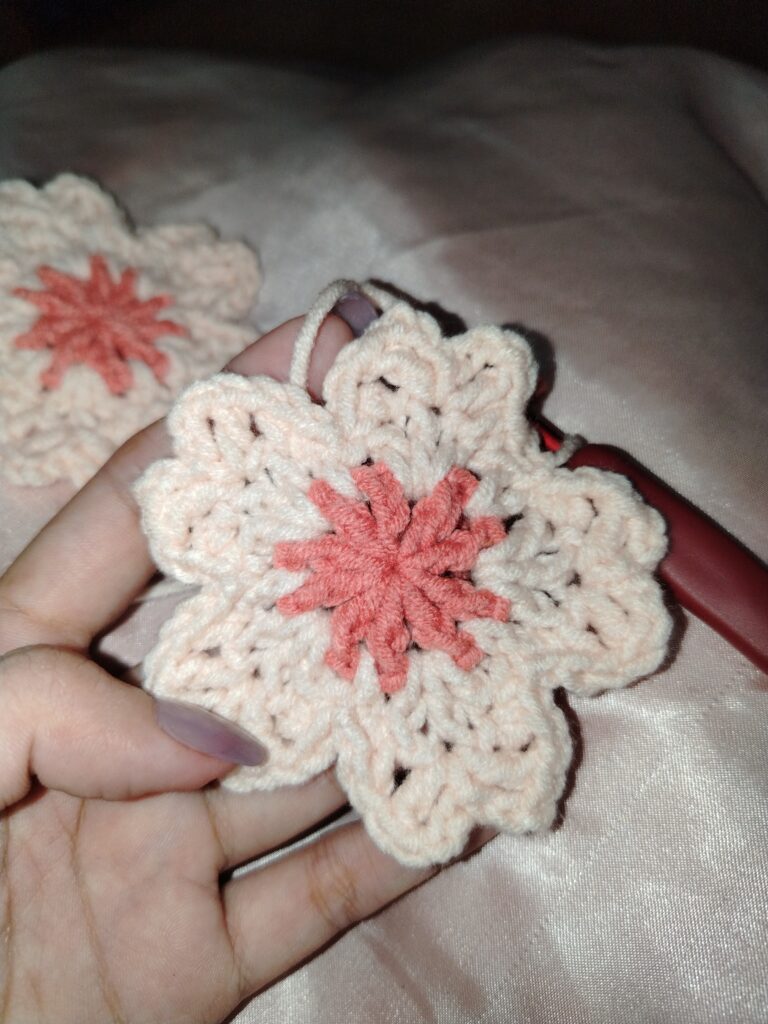
Each petal is formed using the three double crochets from the previous round.
Follow these instructions to make one petal:
1. Chain 1.
2. Make 1 sc in the first dc of the previous round.
3. Make 1 hdc in the same stitch.
4. Make 1 dc in the next stitch.
5. Chain 3, then make 1 sl st in the same stitch.
6. Chain 3 again, then make 1 dc in the same stitch.
7. Chain 1.
8. In the next stitch, make 1 hdc and 1 sc in the same stitch.
9. Make 1 sl st in the next stitch (the sc from the previous round).
That’s your first petal!
Repeat the same process around the flower to complete all five petals.
Once all five petals are finished, fasten off your yarn and weave in the remaining ends.
And there you have it! Your very own crocheted cherry blossom flower. 🌸
Finishing Your Crochet Cherry Blossom
Gently arrange the petals with your fingers to give them a nice, rounded shape. Make sure the center is visible and the petals are evenly spread around the flower.
You can also gently adjust the chain spaces along the petal edges to make the blossom look more defined.
A Little Crochet Tip
When making this flower, try to keep your tension consistent, especially when working the chain spaces and the three double crochets in the foundation round.
Avoid making your chains too tight. Giving them a little room will help the petals sit more naturally and make the flower easier to shape.
Final Thoughts
Sometimes, the smallest crochet projects turn out to be the sweetest ones!
I love how a simple combination of stitches can create something that looks like a little flower in bloom. The contrasting shades also make this cherry blossom extra charming.
You can experiment with different color combinations to create your own collection of tiny blooms. After all, not every flower in the garden has to be the same color!
If you enjoyed this tutorial, please check out other crochet tutorials and stories on our blog, and discover more handmade creations in our shop. Happy crocheting! ❤️