
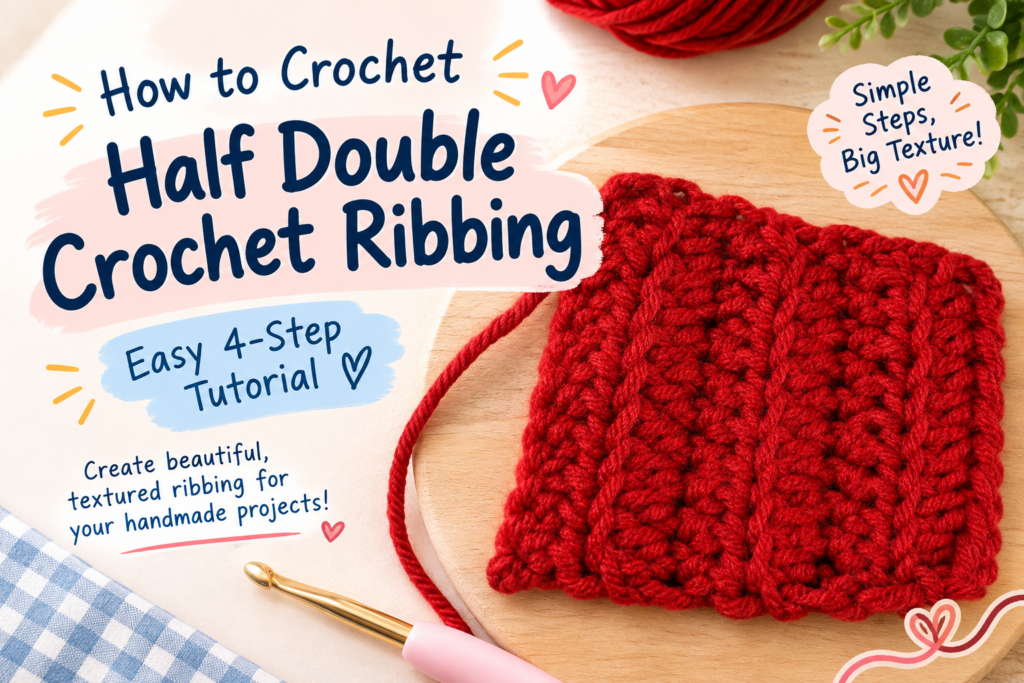
What Is Half Double Crochet Ribbing?
If you’ve been following my crochet ribbing tutorials, welcome back for another round of stitchy fun! 🧶🤩 In my previous post, I shared how to make slip stitch ribbing, which creates a compact fabric with a lovely texture and stretch. This time, we’re switching things up and giving half double crochet ribbing a try!
So, what’s the difference between the two? Slip stitch ribbing creates a tighter, denser fabric, while half double crochet ribbing uses taller stitches to create more pronounced ridges. Both are wonderful techniques, but each gives your crochet project its own personality!
If you haven’t tried my previous tutorial yet, check it out here: How to Crochet Slip Stitch Ribbing.
Now, let’s get back to our half double crochet ribbing! This technique creates beautiful raised ridges by working half double crochet stitches into the back loops only. It’s a lovely way to add texture to sweater cuffs, hat brims, bag details, and other handmade creations.
And the best part? You don’t need to be a crochet wizard to make it! 🪄 Just follow these simple steps, and you’ll be ribbing away in no time.
Grab your yarn and hook, and let’s get those stitches dancing! 😝
For this tutorial, I’m making a small swatch using 13 foundation chains. You can use the same number to follow along!
Step-by-Step Tutorial: Half Double Crochet Ribbing
Step 1: Make Your Foundation Chain
Start by making 13 chains.
This will be the foundation of your crochet swatch. Try to keep your chains relaxed, not too tight and not too loose. We want our stitches to cooperate, not start a wrestling match with our hook! 😂
Remember, you can adjust the number of chains depending on the width you want for your project.
Step 2: Work Half Double Crochet Across the Row
Now, let’s create our first row!
Work one half double crochet (HDC) into the back bump of each chain across the foundation chain.
Working into the back bumps gives your foundation edge a neat, tidy appearance. I personally prefer this method because I don’t like the little holes that can appear when working into the usual loops of the foundation chain. It’s one of those little crochet tricks that makes me happy with the finished result!
Once you’ve completed the row, turn your work and get ready for the ribbing magic.
Step 3: Chain 2 and Work Into the Back Loop Only
Here’s where the ribbing magic begins! ✨
Follow these simple steps:
1. Chain 2 to start your next row.
2. Turn your work.
3. Work one half double crochet into the back loop only (BLO) of each stitch across the row.
Wondering which loop is the back loop? Look at the top of a crochet stitch. You’ll see two loops forming a little V. Instead of inserting your hook under both loops, insert it into the loop farther away from you.
Working into the back loop only leaves the front loop unworked, creating those lovely horizontal ridges that give your ribbing its signature texture.
Keep going until you reach the end of the row. Take a moment to admire those little ridges forming. Look at you, making texture happen! 🥰
Step 4: Repeat Until You Reach Your Desired Length
Now, repeat Step 3!
Chain 2, turn your work, and make one half double crochet into the back loop only of every stitch across the row.
Keep repeating this process until your ribbing reaches the length you need for your project.
Making a small swatch for practice? A few rows will do. Working on sweater cuffs, a hat brim, or another crochet creation? Keep going until it reaches your desired size.
Your project, your rules! Just remember that the amount of ribbing you’ll need depends on what you’re making.
Helpful Tips for Half Double Crochet Ribbing
Here are a few tips to help make your ribbing look neat and consistent.
- Keep your tension consistent. Try not to make your stitches too tight, especially when working into the back loops.
- Count your stitches. Keep the same stitch count in every row to maintain a consistent width.
- Don’t forget the back loop! Working into both loops by accident will change the texture of your ribbing.
- Practice on a swatch first. It’s a great way to get comfortable with the technique before using it in a larger project.
- Be patient with yourself. Your first few rows might look a little different from what you imagined, and that’s perfectly fine. Keep practicing, and you’ll get the hang of it!
Half Double Crochet Ribbing vs. Slip Stitch Ribbing
Still deciding which ribbing technique to use for your next project? Here’s a quick comparison!
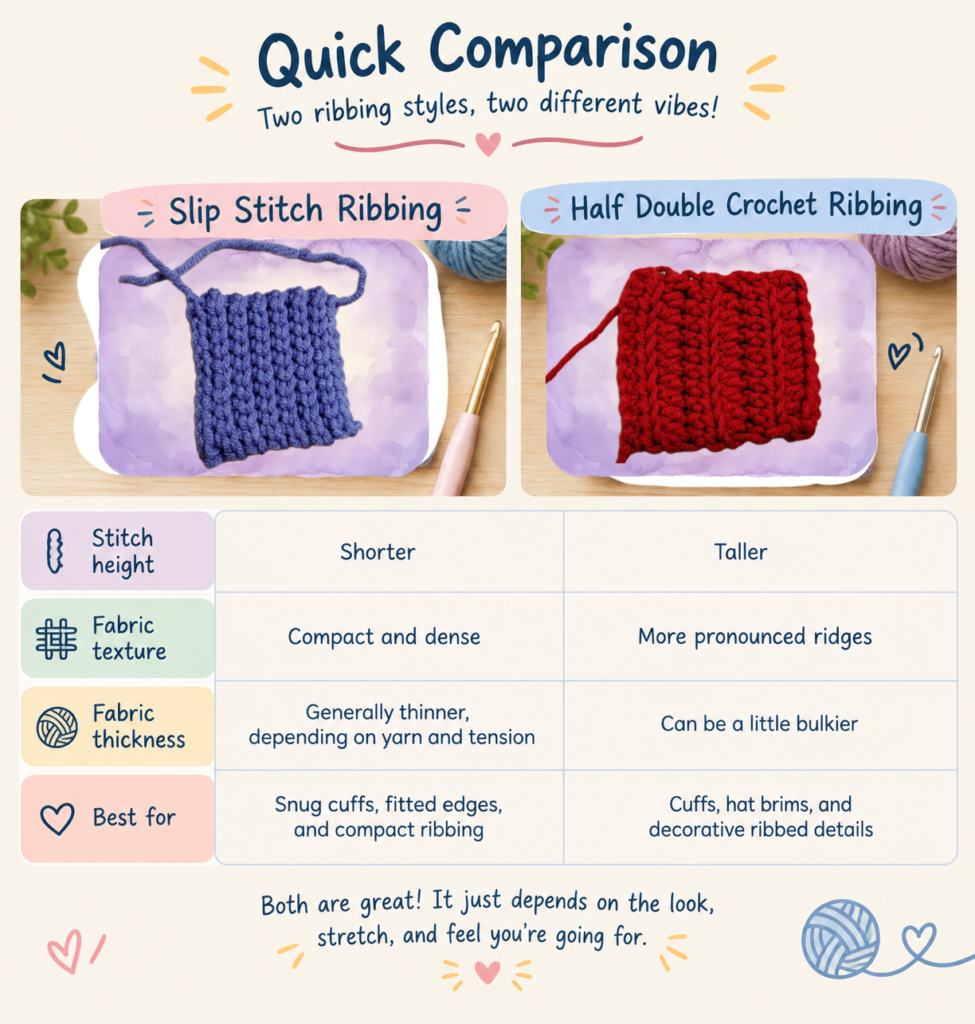
Both techniques are useful, and neither is automatically better than the other. It all depends on the look, stretch, and feel you’re going for!
And That’s It! 🎉
You’ve just learned how to make half double crochet ribbing!
It’s a simple technique, but those little ridges can add so much texture and personality to your crochet projects. Whether you’re making something cozy to wear or adding a special detail to a handmade accessory, this stitch is definitely worth learning.
And remember, crochet isn’t about making every stitch perfect on the first try. It’s about learning, practicing, and enjoying the process. So if your first few rows look a little wonky, don’t panic! We’ve all had those moments when our yarn seems to have a mind of its own. 😂
Keep practicing, keep creating, and always choose to be kind to yourself and others along the way. Every stitch is a little step forward, and every project is another chance to learn something new.
Happy crocheting! 🧶💕
—
Enjoyed this tutorial? Check out more crochet tutorials and stories on the blog, and drop by my shop to discover more handmade creations. There’s always something fun to make next!