
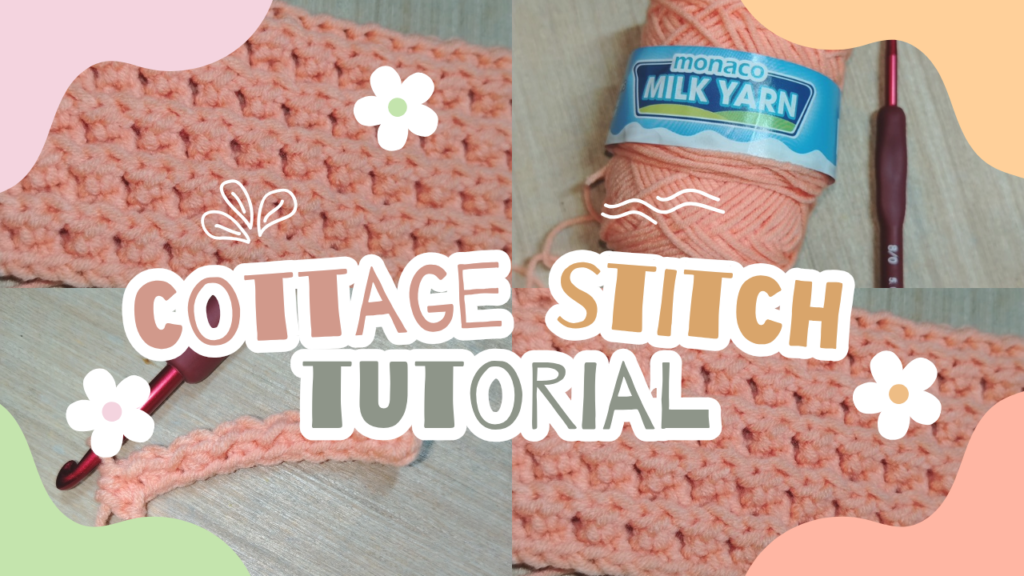
If you love crochet stitches that are simple to work but still have plenty of texture, the Cottage Stitch crochet pattern is one to add to your list.
The Cottage Stitch creates a beautiful, cozy texture by alternating half double crochet (hdc) and slip stitches (sl st). What makes this version especially interesting is that the back loop only (BLO) is introduced from the second row, creating subtle horizontal ridges across the fabric.
It is a simple stitch repeat, but sometimes the simplest stitches create the most satisfying textures!
What Is the Cottage Stitch?
The Cottage Stitch is made by alternating half double crochet and slip stitches across each row.
For this version, the first row is worked normally, while the following rows are worked through the back loop only. This change creates the ridged texture that gives the stitch its cozy appearance.
The stitch has a nice balance between texture and simplicity, making it a great option when you want something more interesting than rows of basic stitches without having to keep track of a complicated pattern.
What You’ll Need
– Yarn of your choice
– Crochet hook suitable for your yarn
– Scissors
– Yarn needle for weaving in ends
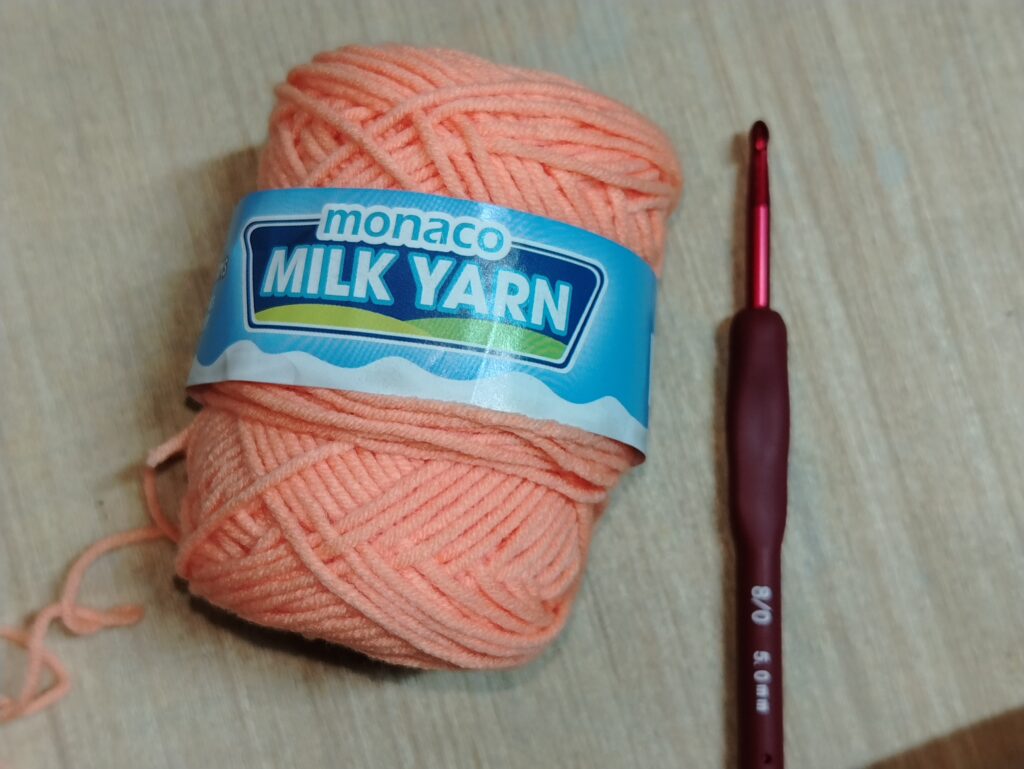
For a stitch swatch, you can use any yarn and hook combination you already have on hand. A smooth yarn will make the texture especially easy to see. For this tutorial I used 5ply Monaco Acrylic yarn and 5mm hook.
Crochet Abbreviations
This tutorial uses US crochet terminology.
– hdc = half double crochet
– sl st = slip stitch
– BLO = back loop only
– ch = chain
– st/sts = stitch/stitches
Cottage Stitch Foundation Chain
Start with a foundation chain that is a multiple of 2 + 1.
You can make your foundation chain as long as you need, as long as it follows the multiple of 2 + 1.
For the first row, we will work into the back bumps of the foundation chain. I like using the back bumps for this stitch because it gives the bottom edge a neat and finished appearance.
Cottage Stitch Written Tutorial
Row 1
Hdc in the first back bump of the foundation chain.
Sl st in the next back bump, hdc in the next back bump.
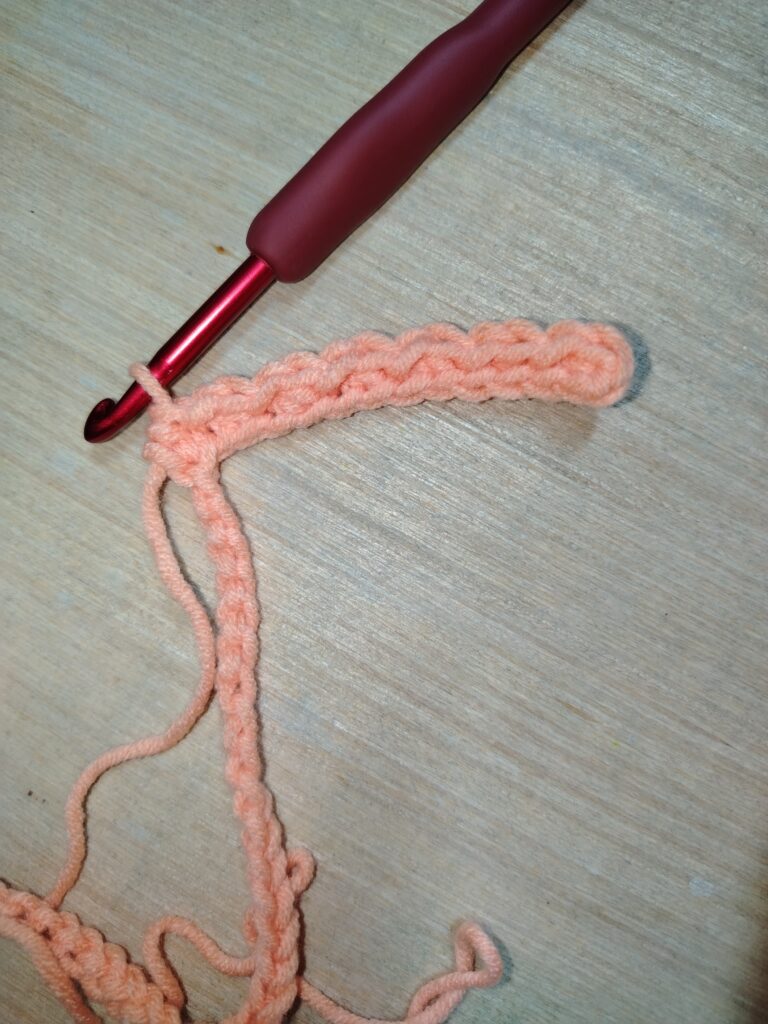
Repeat this pattern across the row, ending with a sl st.
Row 2
Now we begin creating the ridged texture.
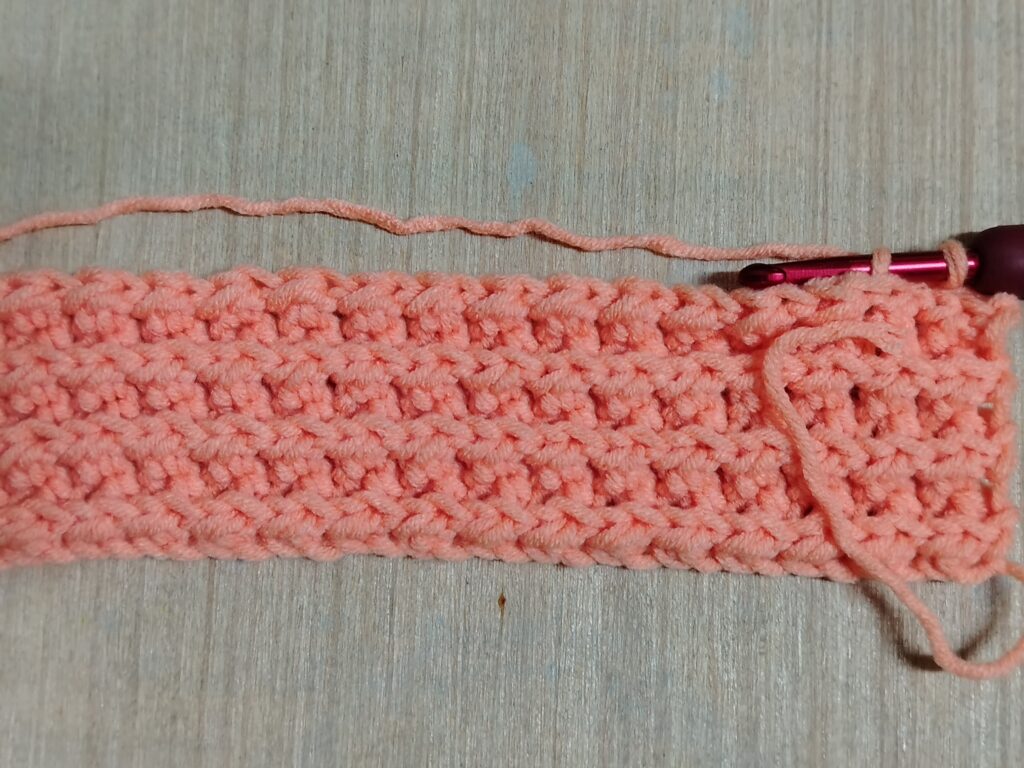
Hdc BLO in the first slip stitch of the previous row.
Sl st BLO in the next hdc, hdc BLO in the next slip stitch.
Repeat pattern across the row, ending with a sl st BLO.
Row 3 and Beyond
Repeat Row 2 for the rest of your project.
Continue working:
hdc BLO, sl st BLO, hdc BLO, sl st BLO
across each row, making sure that the hdc is worked into the slip stitch from the previous row and the slip stitch is worked into the hdc from the previous row.
Continue until your project reaches your desired length.
The Simple Rhythm of the Cottage Stitch
Once you get into the rhythm, this stitch is quite easy to memorize.
You are essentially alternating:
hdc → sl st → hdc → sl st
Then, on the next row, the stitches switch positions:
hdc into the sl st → sl st into the hdc
And because we work through the back loop only from Row 2 onward, the stitches begin to form those lovely horizontal ridges.
This is one of those stitches where the first few rows may feel like you’re still figuring it out, but once the pattern starts repeating, your hands can almost take over.
A Tip for Working Slip Stitches
Slip stitches can sometimes feel a little tight, especially when you’re working several of them in a row.
Try not to pull your working yarn too tightly after making each slip stitch. Keeping your tension relaxed will make it easier to insert your hook into the next stitch and will help keep your fabric from becoming too stiff.
This is particularly helpful when working the BLO slip stitches in the following rows.
Why I Like the Cottage Stitch
I love crochet stitches that don’t require complicated counting but still produce a fabric with plenty of character.
The Cottage Stitch has that quality.
The alternating hdc and slip stitches give the fabric a subtle texture, while working BLO from the second row creates ridges that become more noticeable as the rows build.
It also has a lovely handmade feel. It reminds me of those simple crochet textures that look ordinary while you’re making them, then suddenly become much prettier once several rows are stacked together.
Sometimes crochet really does save the best part for later!
What Can You Make With the Cottage Stitch?
Because the Cottage Stitch creates a textured fabric, there are plenty of projects you can experiment with.
You could use it for:
- Crochet blankets
- Baby blankets
- Scarves
- Cowls
- Crochet bags
- Pillow covers
- Dishcloths
- Washcloths
- Hats and other accessories
- Cozy home décor projects
For blankets especially, this stitch could be a fun choice if you want texture without using a complicated stitch pattern.
You could also try changing colors between rows to make the ridges stand out even more.
Cottage Stitch Crochet Pattern at a Glance
Foundation: Multiple of 2 + 1
Row 1: Hdc in first back bump, sl st in next back bump, hdc in next back bump. Repeat across, ending with sl st.
Row 2: Hdc BLO in first sl st, sl st BLO in next hdc, hdc BLO in next sl st. Repeat across, ending with sl st BLO.
Row 3 onward: Repeat Row 2.
And that’s it!
A simple stitch pattern with a surprisingly cozy result.
Keep Experimenting With Your Crochet
One of my favorite things about crochet is discovering how much you can change the look of a fabric with such small adjustments.
A simple combination of hdc and slip stitches already creates texture. Add working through the back loop only, and suddenly you have ridges running across the fabric.
That is the fun part of experimenting with crochet stitches. You don’t always need a complicated pattern to create something beautiful. Sometimes it’s just a matter of changing where you place your hook.
So grab some yarn, make a little swatch, and give the Cottage Stitch a try. You might just find yourself adding another favorite stitch to your crochet toolbox!
Happy Crocheting!
I hope you enjoyed learning the Cottage Stitch. If you try this stitch in one of your projects, I’d love to see what you create!
And if you’re looking for more crochet inspiration, don’t forget to explore more of my crochet tutorials and handmade creations here at Knot & Curls. You can also visit my online shop to see my latest handmade pieces.
There are always more stitches to learn, more projects to make, and of course, more yarn waiting patiently for its turn on the hook. 🧶💕