
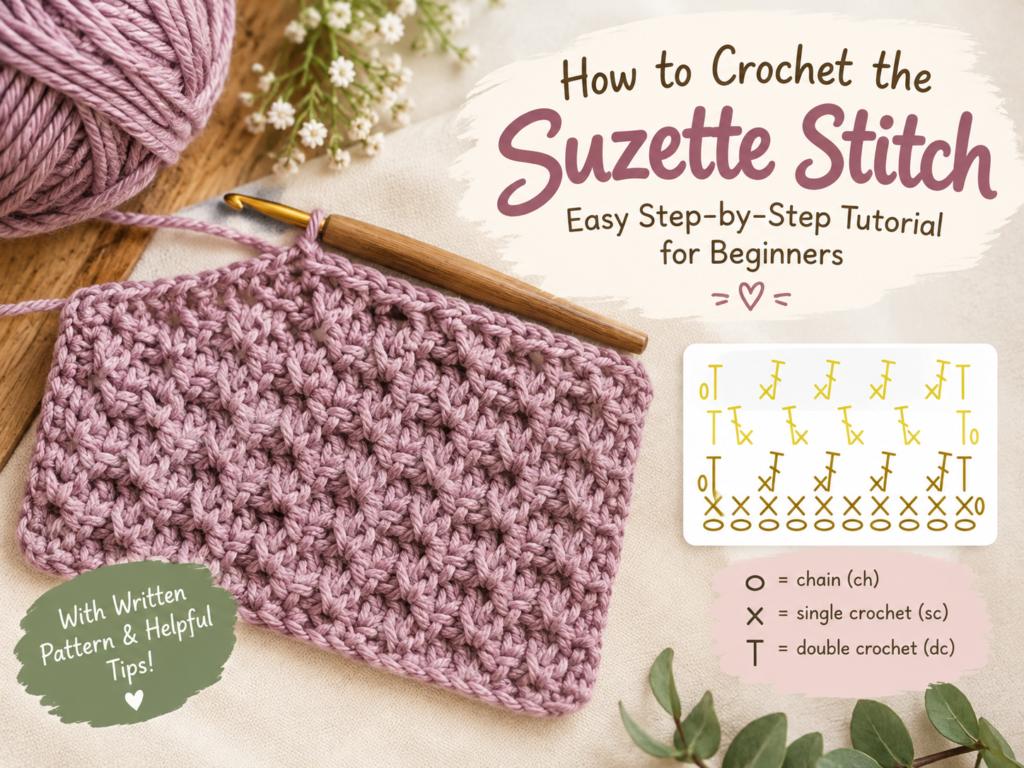
The Suzette stitch is one of those crochet stitches that looks intricate but is surprisingly simple to make. By combining single crochet and double crochet stitches, you can create a lovely, textured fabric without having to learn complicated stitch combinations.
If you’re looking for a beginner-friendly crochet stitch that adds a little character to your projects, the Suzette stitch is worth trying. It creates a beautiful, slightly bumpy texture that looks lovely on both sides of your work, making it a great choice for blankets, scarves, dishcloths, and crochet bags.
In this tutorial, I’ll walk you through how to crochet the Suzette stitch using a written pattern and a stitch diagram, so you can follow along at your own pace.
What Is the Suzette Stitch?
The Suzette stitch is a crochet stitch pattern made by working a single crochet and a double crochet into the same stitch, skipping the next stitch, and repeating the combination across the row.
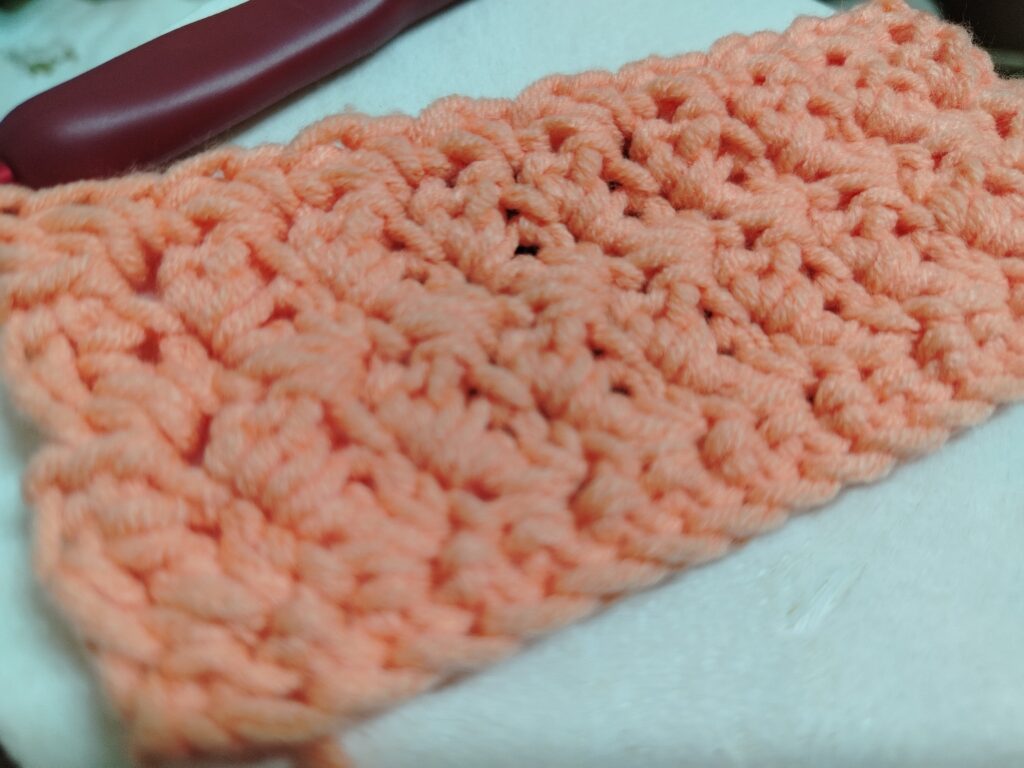
This simple combination creates a compact, textured fabric with a subtle raised appearance. The stitches sit close together, giving your finished project a beautiful and cozy look.
One of the things I love about this stitch is that it uses basic crochet stitches, so even beginners can give it a try. Once you understand the repeat, it becomes easy to work through each row.
Materials You’ll Need
- Yarn: Any yarn of your choice. A smooth, medium-weight yarn is a good option for beginners.
- Crochet hook: Use the hook size recommended for your yarn.
- Scissors: For cutting your yarn.
- Yarn needle: For weaving in your ends.
- Stitch markers (optional): Helpful for keeping track of your stitches.
Abbreviations (US Crochet Terms)
- ch: Chain
- sc: Single crochet
- dc: Double crochet
- hdc: Half double crochet
- sk: Skip
- st(s): Stitch(es)
- rep: Repeat
How to Crochet the Suzette Stitch
Step 1: Create your foundation chain
Start by making a foundation chain with an odd number of chains. For this example, let’s make 21 chains.
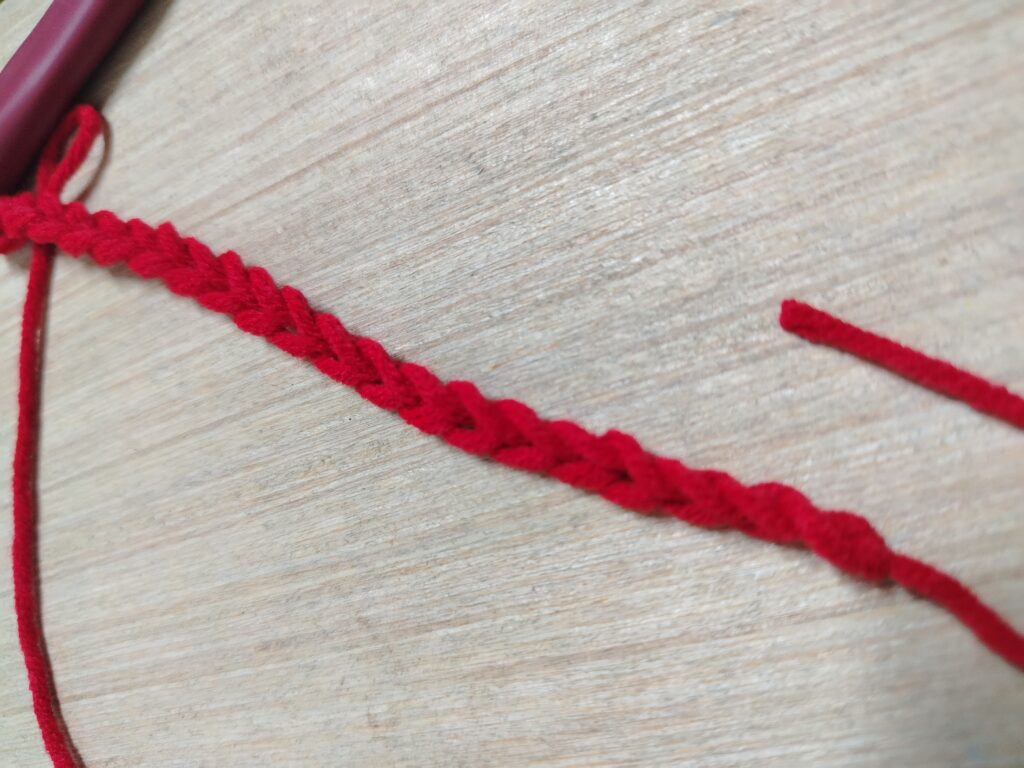
The foundation chain will determine the width of your project, so you can adjust the number of chains to make it wider or narrower, while keeping an odd number.
Step 2: Work the first row
Work sc in all stitches across the first row.
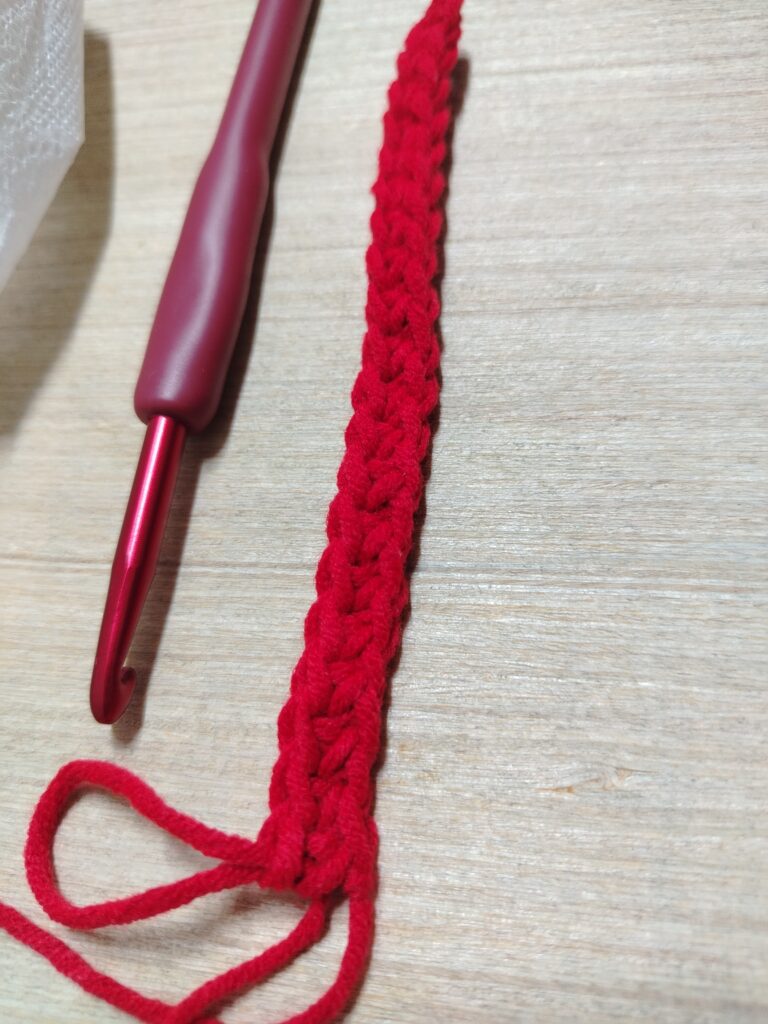
Turn your work.
Step 3: Work the second row
– Ch 1 to secure your turning edge. This does not count as a stitch.
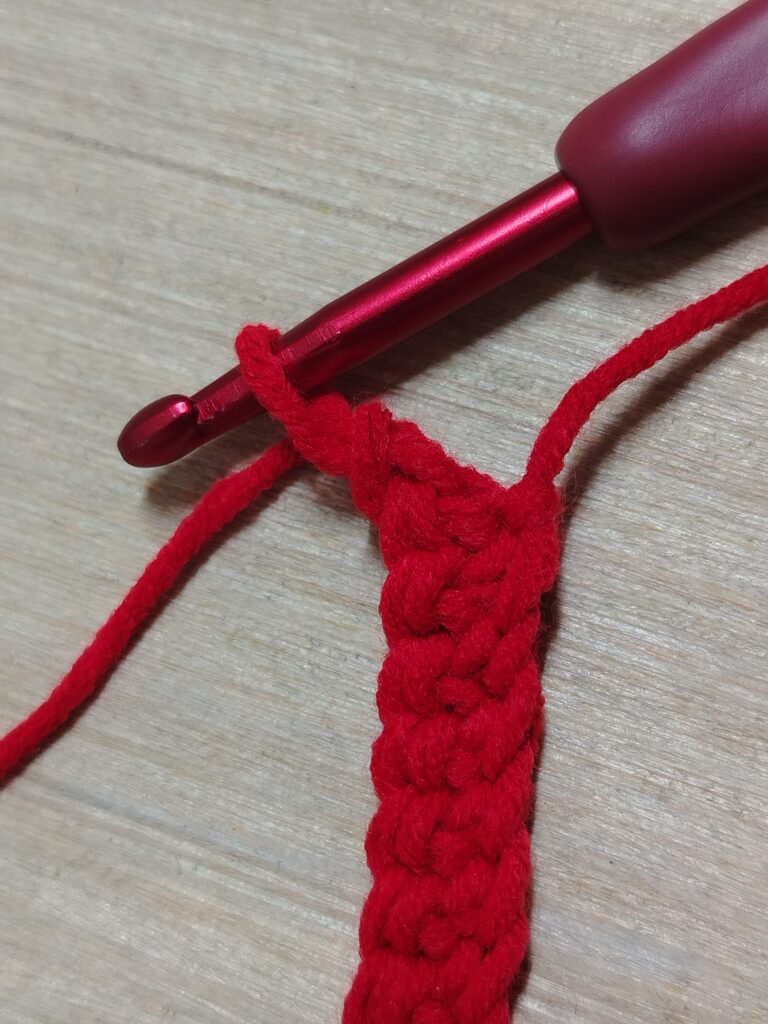
– Hdc in the first single crochet stitch of the previous row’s stitch pattern.
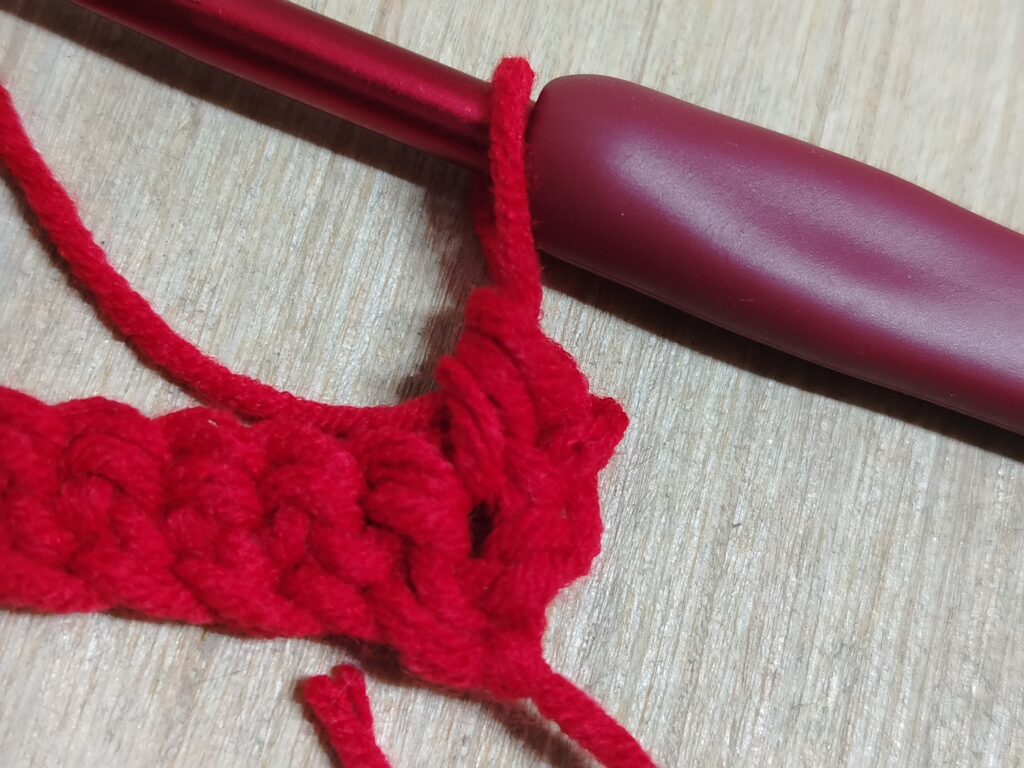
– Skip the next stitch or stitch space as shown by the pattern.
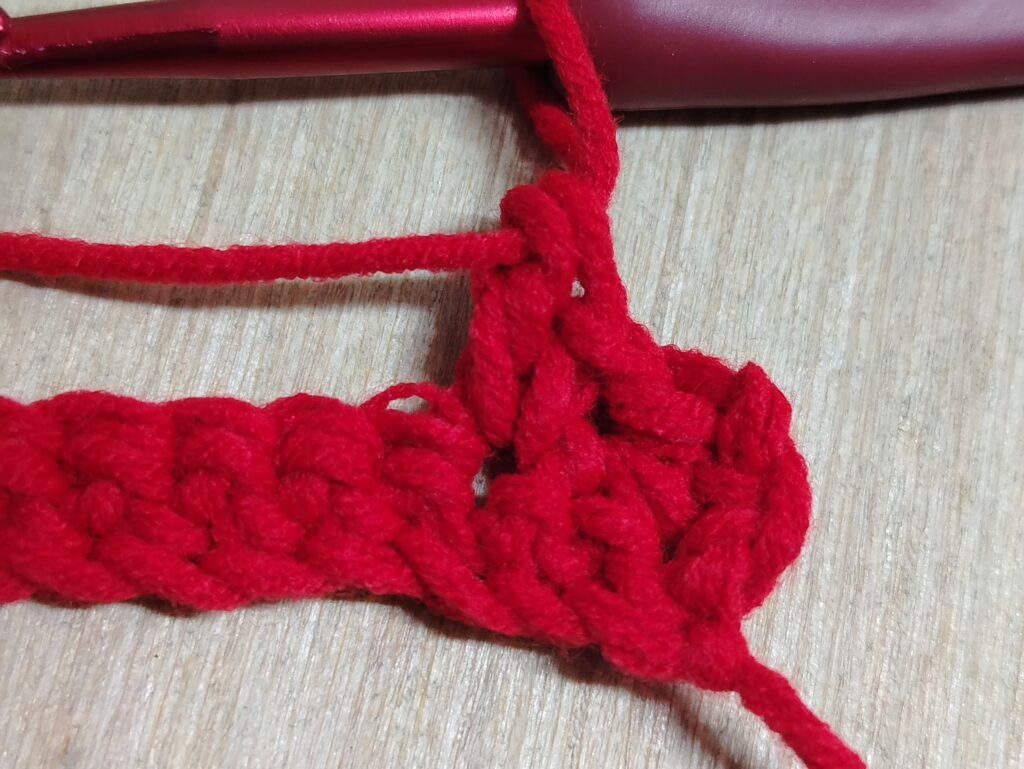
– Sc and dc in the next single crochet stitch.
– Repeat across the row, following the same stitch placement as the first row.
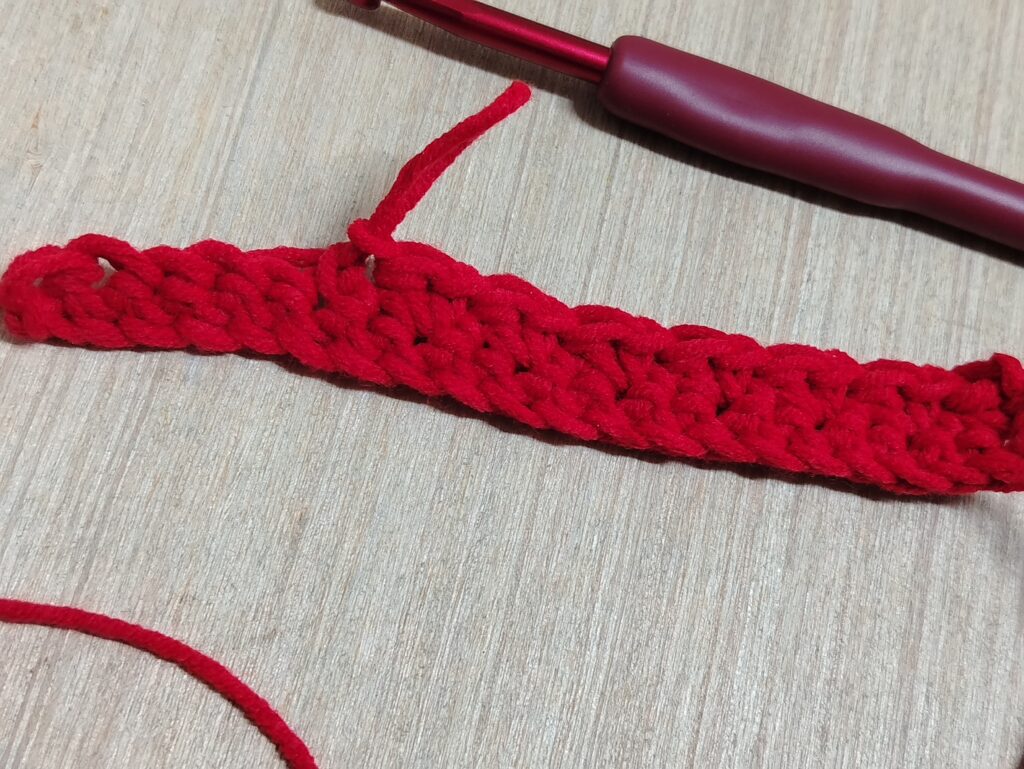
– Finish with an hdc at the edge where needed to keep your sides straight.
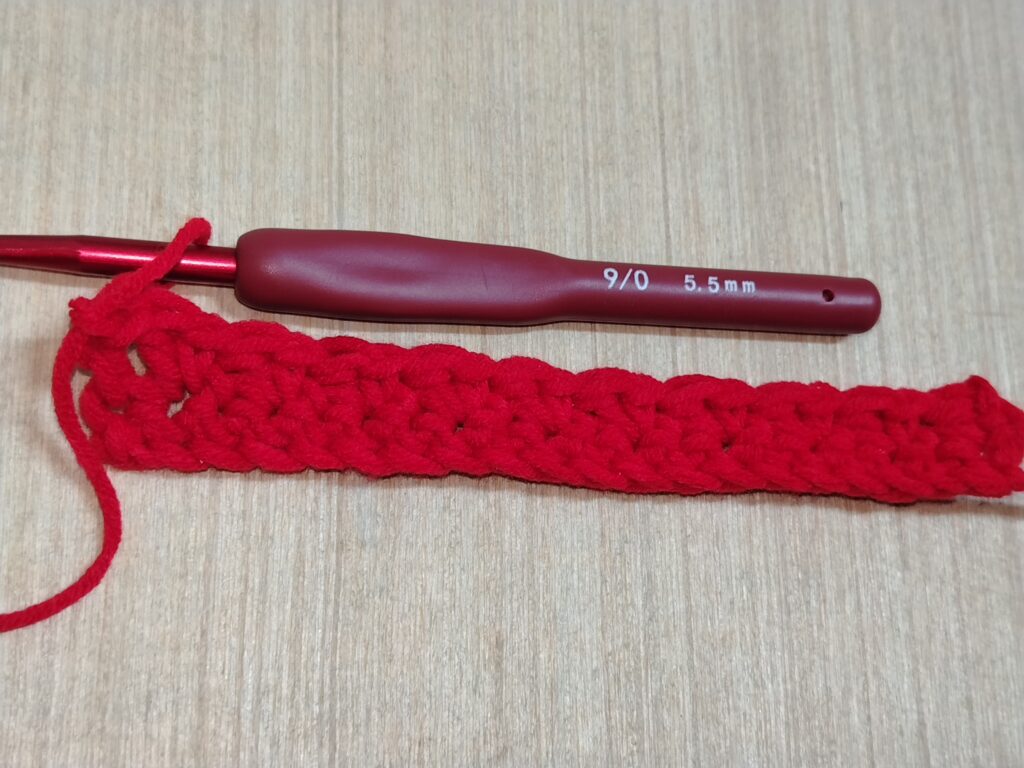
Turn your work.
Step 4: Repeat the pattern
Continue repeating the same stitch sequence for each row:
– Ch 1 and turn.
– Make hdc on the first and last stitches of each row.
– Work a sc and dc into the designated stitch.
– Skip the next stitch.
– Repeat the combination across the row, keeping the edge stitches consistent.
Continue until your project reaches your desired length.
Understanding the Suzette Stitch Pattern
The secret to the Suzette stitch is the repeated combination of two stitches in one stitch. The single crochet creates a compact base, while the double crochet adds height and texture.
Remember these key points as you work:
– Always place the sc and dc together in the same stitch.
– Skip the designated stitch between stitch groups.
– Keep your tension consistent to create an even fabric.
– Pay attention to your edge stitches to prevent your project from becoming uneven.
Tips for Beginners
1. Count your stitches
It’s easy to accidentally skip an extra stitch or work into the wrong stitch when you’re first learning the Suzette stitch. Counting your stitch groups as you go can help you maintain the correct width.
2. Keep your tension relaxed
Try not to pull your yarn too tightly, especially when working the double crochet stitches. Consistent tension helps the stitch pattern form neatly and makes it easier to insert your hook into the next stitch.
3. Use stitch markers
If you’re having trouble identifying the correct stitch at the beginning or end of a row, stitch markers can help you keep track of your edges.
4. Practice with a small swatch
Before starting a larger project, try making a small swatch. This will help you get comfortable with the stitch pattern and see how the texture develops after a few rows.
What Can You Make With the Suzette Stitch?
The Suzette stitch is versatile and works beautifully for many crochet projects. Its textured appearance makes it suitable for both practical and decorative creations.
Some project ideas include:
- Crochet blankets: Create a cozy blanket with a lovely, textured surface.
- Scarves: Make a warm scarf with a simple but interesting stitch pattern.
- Bags and pouches: Use the dense texture for handmade accessories.
- Dishcloths: Try it with cotton yarn for a textured, reusable kitchen essential.
- Baby blankets: Create a soft, textured blanket using an appropriate baby-friendly yarn.
Final Thoughts
The Suzette stitch is a lovely reminder that beautiful crochet doesn’t always have to involve complicated techniques. With just two basic stitches and a simple repeat, you can create a fabric that is full of texture and character.
Whether you’re a beginner looking to expand your crochet skills or an experienced crocheter searching for a new stitch to add to your collection, the Suzette stitch is a fun and satisfying pattern to explore.
I hope this written tutorial helps you feel more confident in trying the Suzette stitch. Don’t be afraid to experiment with different yarn colors and textures to see how they transform the finished fabric.
I hope you enjoyed learning the Suzette stitch! If you’re looking for more crochet inspiration, feel free to explore my other tutorials and stories on the blog. You can also visit Knot and Curls Shop to discover more handmade creations, each made with love and care. Thank you for being part of my crochet journey, and happy crocheting! 🧶💕